

An underground water tank has many uses at home or for a business. They can be used to store rainwater, which can then be used for things like watering the garden, flushing toilets or washing the car, contributing to sustainable water management and cutting your bills! This is especially useful in times of low rainwater, when hosepipe bans may be brought into effect.
In areas prone to flooding, an underground water storage tank can help manage stormwater run-off to reduce the risk of localised flooding. They can also be used for watering public parks and gardens and as a back-up emergency water supply (but if drinking water – potable water – is required, you will need a different sort of tank).
In agriculture, they can be used for crop irrigation, drinking water for livestock and greenhouse operations. In industry, underground water tanks can store water for cooling systems for manufacturing processes, fire suppression systems and landscape irrigation. They can also be used for the restoration of wetlands and wildlife habitats.
An underground water tank is preferable to an above ground tank for a number of reasons, including that they save space, you can’t see them, they are better at maintaining the temperature of the water and underground tanks are better protected from the elements.

Before you install an underground water tank, it is important to research and comply with all local regulations.
So how do you install an underground water tank?
The first thing to do is to select the right tank for your needs – is it for domestic use, industrial use or just as an emergency back-up? You also need to bear in mind the space you have available for the tank, the cost, the durability and the capacity of the tank. Tanks for Everything stocks underground water tanks from 900 litres to 10,000 litres.
You also need to consider the material – plastic, fibreglass or concrete. Plastic and fibreglass tanks are well suited to a wide range of soil types. Plastic tanks are lightweight, which makes them easier to transport and install. Concrete tanks have strength and longevity and also come in larger capacities, making them suitable for commercial or industrial applications. But they are heavy, which means higher installation costs. Fibreglass tanks have excellent insulation properties, which means they are good for maintaining water temperature. They are also highly resistant to corrosion.
Once you have chosen the right tank for your needs, you need to select the right location. This should be one which is as close as possible to where you are going to need the water. The site should be easily accessible for any maintenance, have good quality soil and good drainage. It is also important to check installation of the underground tank is away from tree roots and won’t interfere with any building foundations or underground utilities.
You shouldn’t install an underground water tank in areas with a high water table. If there is a high water table, it is likely you will need to install the tank with a concrete surround, but check the instructions for the specific tank you are buying.
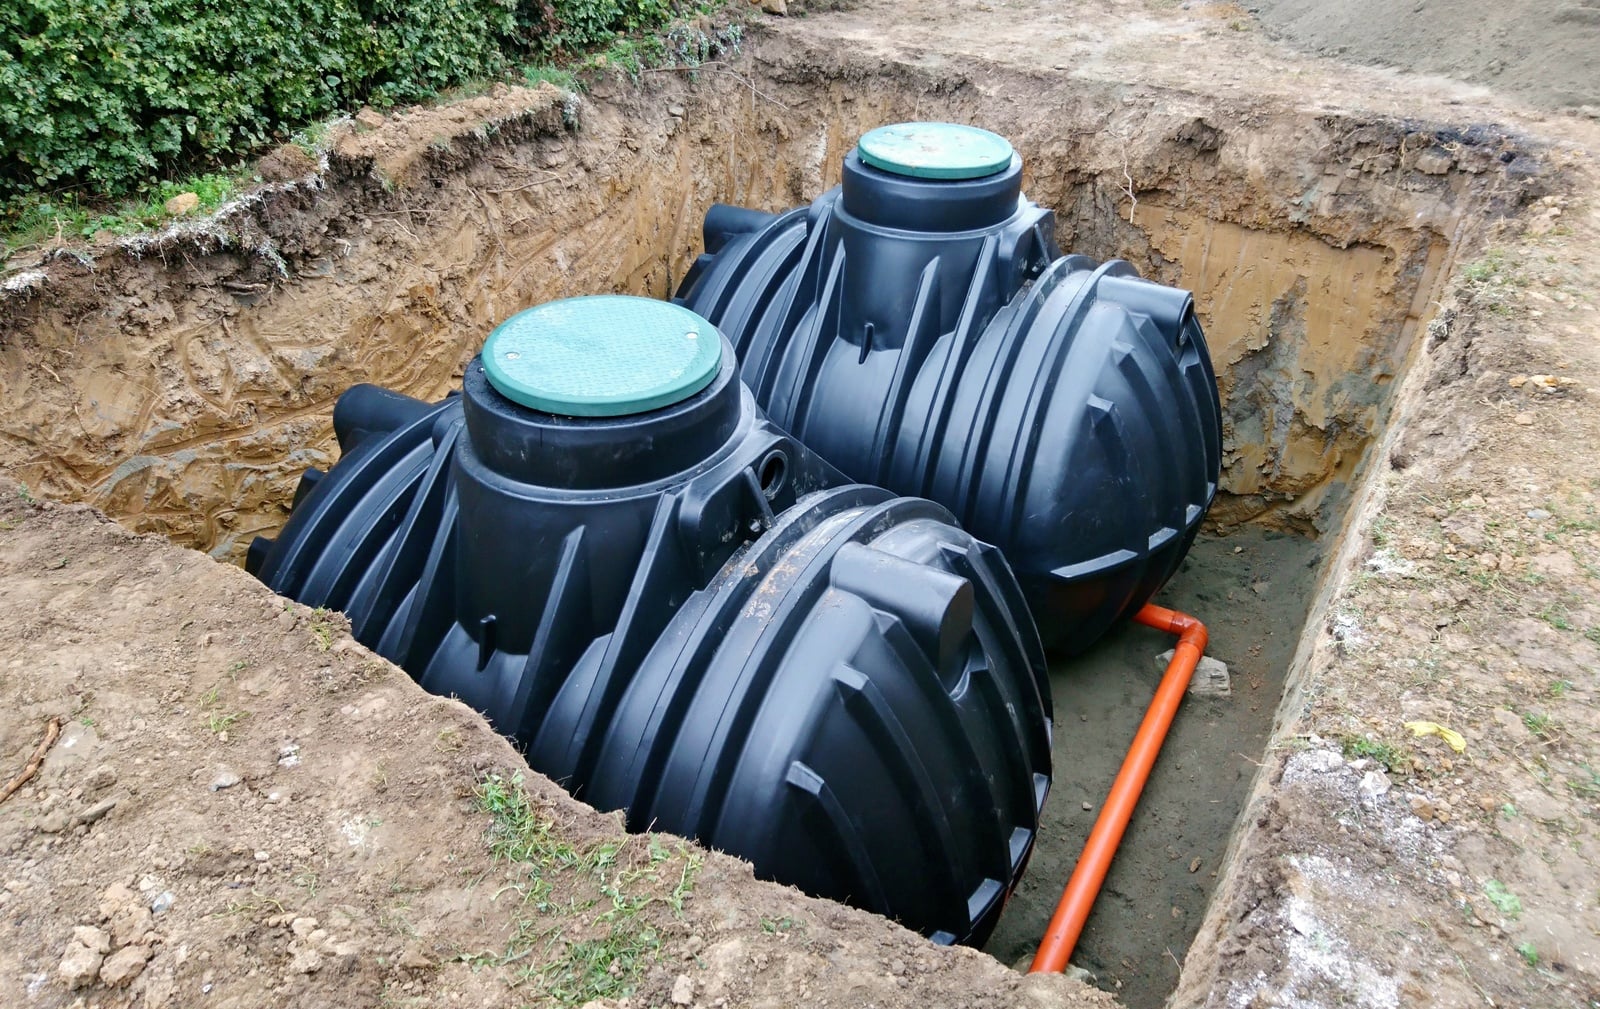
The next step is excavation. Due to the size of most water tanks, this should be carried out using some sort of digging equipment – either hired or operated by a professional. The hole needs to be bigger than the tank, with space for backfill material. It should be deep enough to allow the top of the tank to be below the frost line, but above the water table.
The exact detail of the size and depth of the hole and how much backfill may be required varies from tank to tank. It is always important to check the manufacturer’s information to get it right.
Next, it is time to actually install the tank. Before lowering the tank into the hole, you should ensure there is a suitable base for the tank, which should be a thick layer of well compacted sand, gravel or soil. The exact material and thickness of the base would depend on the type of soil and type of tank.
The tank should be carefully lowered into the excavation using appropriate lifting equipment. Most tanks will have lifting eyelets/ lugs on the corners for lifting. It is important to use all of the lugs – so if there are four, it is essential to hoist using all four lugs.
When it is lowered in, the tank should sit in a secure, level position.
Once the tank is secure in the excavation, it is time for backfilling. This might be with the soil removed from the hole, sand, gravel or a mixture. It is usual to fill in 30cm/ 12” layers, then compacting each layer before adding the next one. This should be done without the use of heavy machinery close to the tank, to avoid accidental damage.
When the backfilling reaches the plumbing connection ports on the tank, plumbing to and from the tank should be connected. All connections should be secure and watertight. You may need professional help if you are connecting it to your property’s plumbing system eg for flushing toilets. If the water in the tank is going to be used for irrigation, it will need a pump and distribution system.
Once the plumbing is complete, it is time for final checks. Fill the tank with water to check for leaks. Once you’re satisfied that everything is working as it should, you can finish backfilling, so that your underground water tank really is underground!
Installing a water tank isn’t easy and you are most likely to need professional help at some point in the process. While this is a useful guide to all the stages you will need to go through, it is important to check the manufacturer’s guidelines for your particular tank and also consider the type of soil you will be installing your tank into.